


Plants provide wonderful food for cooking but one of the not-so-secret secrets of gardening is that every now and then, you need to cook for plants rather than with them. Give them a tasty meal of their favorite food and they will thank you with robust shoots, fruits and roots.
But do not run out to dump your fresh batch of lasagna on your flowers. More than lasagna, plants crave compost. Technically, compost is not food for plants but the analogy is useful. While plants make their own food from carbon dioxide, water and sunlight, a properly made and applied “meal” of compost promotes a healthy soil and thus healthier plants.
By using compost, you give plants something found in nature but frequently lacking in the urban and suburban landscapes. The leaves, branches, flowers and fruit dropped by plants decompose over time, returning nutrients and other goodies to the soil.
In the less-than-wild landscapes, gardeners frequently clean up this debris, pull weeds, prune and tidy things up. There are benefits to doing these various activities but in the long run, they tend to reduce the amount of organic matter added to the soil. The soil and plants may suffer as a result.
Applying compost is a good way to return organic matter while preserving a kind of garden aesthetic. The benefits of compost include added plant nutrition, improved water drainage, better water retention (less irrigation), increased soil life, stronger root systems and weed suppression.
Composting is not just good for your garden; it is good for your home, your environment and yourself. There are several considerations before beginning.
Location
Before you start gathering your compost ingredients, locate a space to “cook” it. A compost kitchen, so to speak, should be located thoughtfully. Ideally it will be close to where you collect your materials and use the finished compost. Save energy by locating the pile close to your garden space.
Allow yourself enough room to create your compost. You not only need space to dump your compost materials, either in a pile or some kind of bin system, but also space for mixing the compost. This generally involves shoveling the pile into an adjacent spot or emptying the contents of one composting bin into another.
Your ambition dictates size. Are you going to compost everything possible from your garden? If so, opt for more space. Are you just going to compost kitchen scraps? A two- or three-garbage-can system may suffice.
Bin Choices
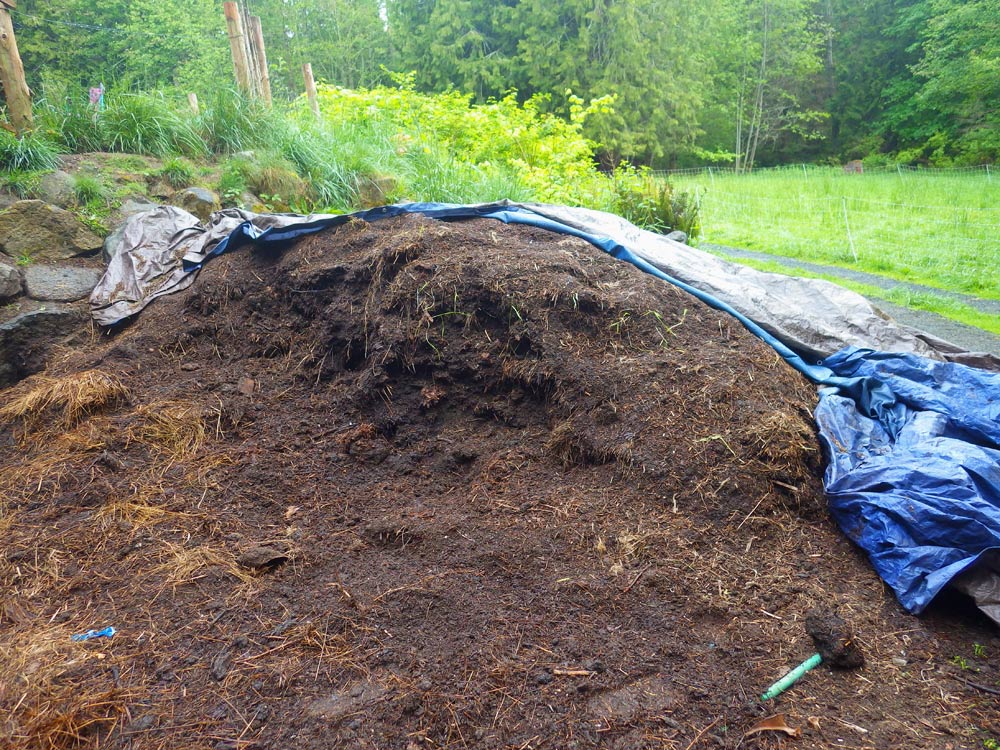
Once you have located a place, decide whether to compost in an open pile or some kind of bin system. An open pile is generally cheapest and easiest — organic matter is just dumped and mixed into a dome-shaped pile with no walls to hold it in place.
This works perfectly fine, especially for large amounts of garden waste. Just throw a tarp over it during the rainy season to prevent leaching of all the tasty plant nutrients.
If you want a tidier solution or are composting in smaller quantities, consider some kind of bin system. There are many kinds that you can make yourself or buy on the market.
Some of the more common options:
Wire fencing makes a cheap compost “container” and can be purchased in rolls and formed into bins of the desired diameter. A 3- to 4-foot height generally works well. Cut a length equal to the target circumference and connect the ends with wire or cable ties. It may be a little floppy until filled but appropriately placed stakes can steady it.
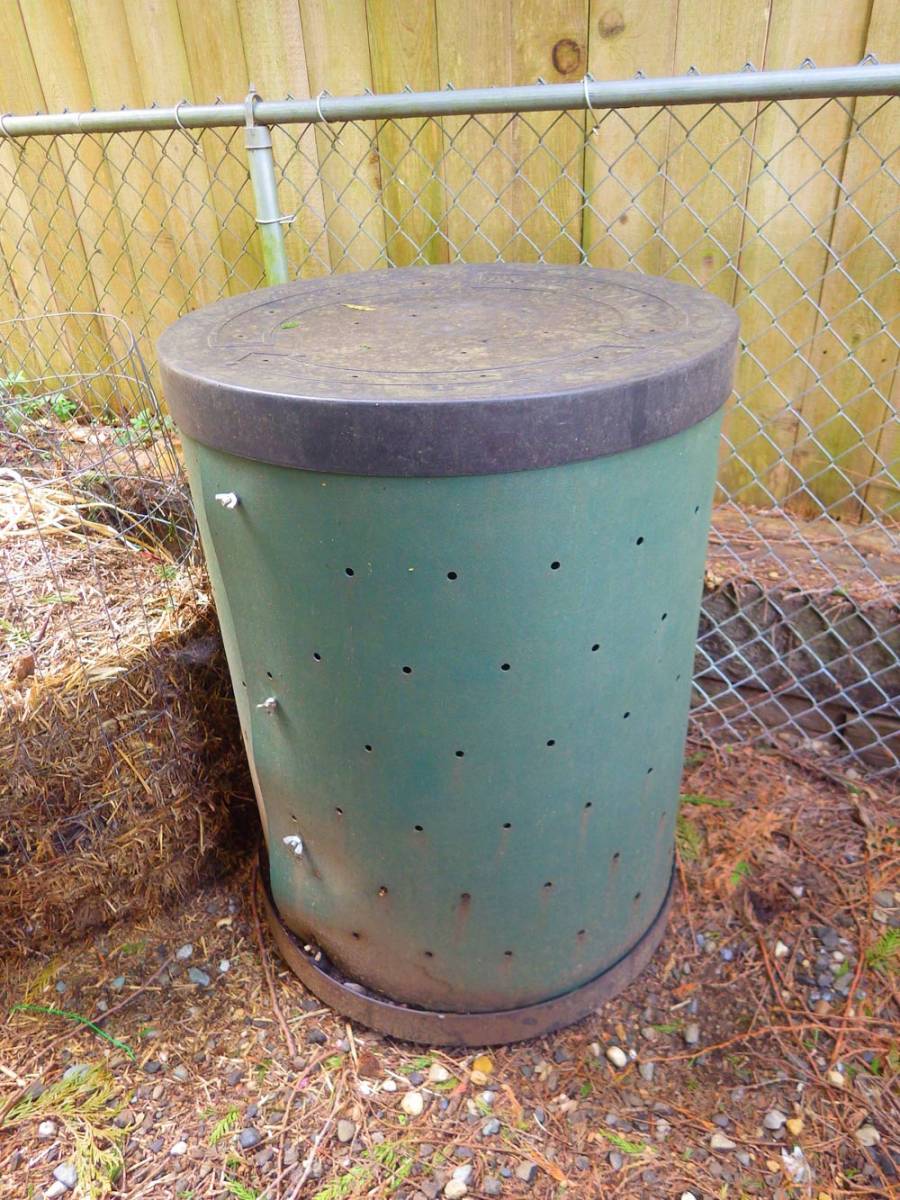
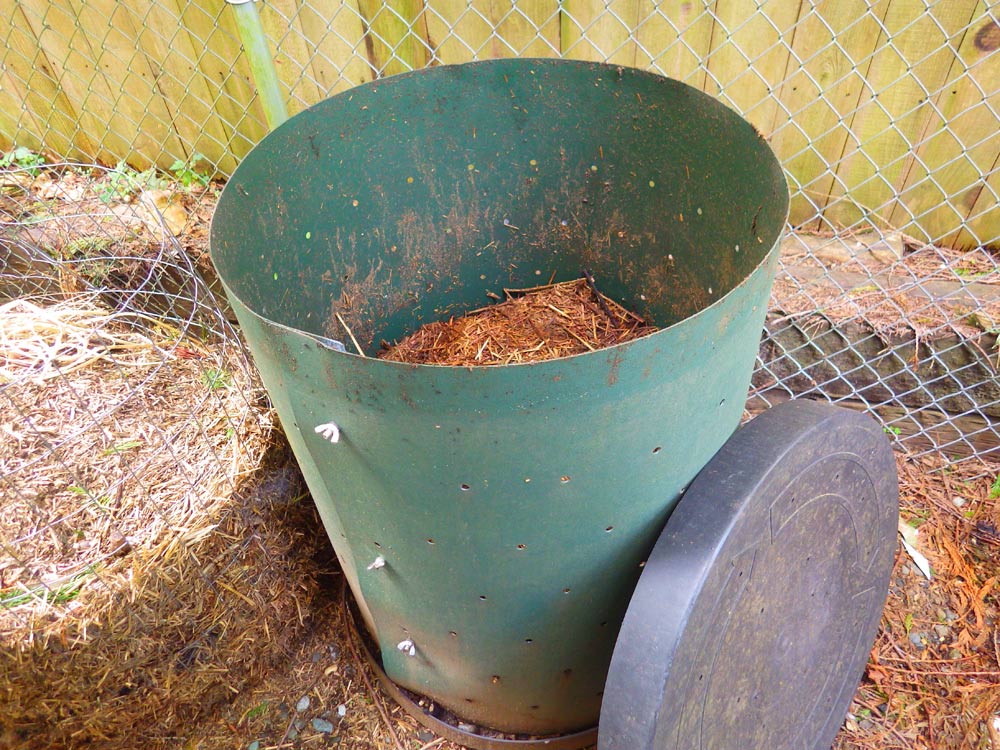
Plastic garbage cans have the advantage of being generally cheaper than commercially made bins but you need to drill air holes in the side of the cans. Half-inch-diameter air holes or larger will suffice.
Space the holes 5-10 inches apart to provide adequate aeration. Drill holes in the bottom to let excess liquid drain out. With lids, the garbage can system readily keeps rain and animals out of your compost. Kitchen-scrap composting works well with this type of bin since food attracts unwelcome animal visitors. Commercial versions are available that come with air holes already present.
Wood frame bins offer a sturdier option. They can be made to order with your choice of materials. The sides can be wire or wood boards with at least an inch of space between them to allow air to get into the pile. The fronts can be made removable for easy access to the compost once it is finished.
Compost tumblers are convenient because mixing is made very easy. A tumbler is basically a barrel partly filled with organic matter and then manually spun each day. The spinning aerates the pile and since it can be done frequently, tumblers tend to produce compost more quickly than other methods.
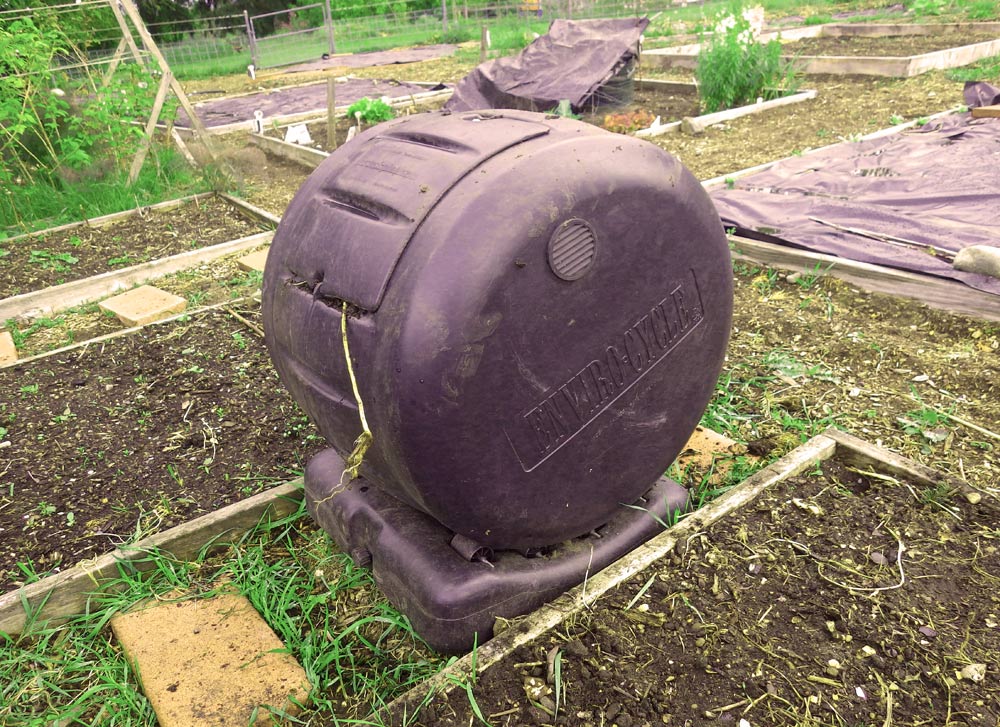
On the downside, they tend to hold smaller amounts than other bin systems. Gardeners with large amounts of material to compost may still prefer piles to tumblers, but for most homes, a tumbler is a good choice.
Ingredients
While nature’s microscopic workhorses can rot most organic material thrown at them, the garden composter will want to adhere to a recipe to make quality compost in a timely fashion. The good news is that you do not have to measure out every ounce of material you add to your pile. Estimation normally works just fine.
There are four basic ingredients involved in creating the compost “meal” for your garden:
- “Brown” organic matter: Due to the low levels of nitrogen, brown material by itself tends to decay very slowly. Compostable examples are fallen leaves, wood chips, sawdust, straw, hay, corn stalks and shredded paper.
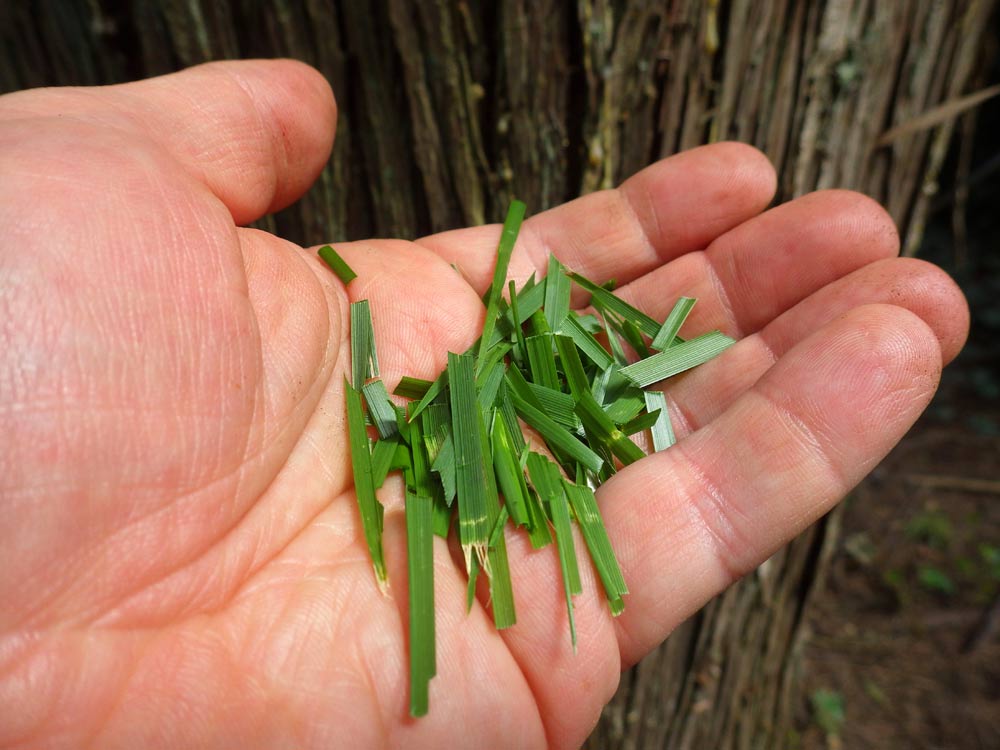
- “Green” material: This has higher levels of nitrogen and is added to speed up the composting process. By itself, green material rots too quickly and produces stinky, low-quality compost. Anyone who has let a pile of grass clippings sit for more than a few days knows this smell. A good compost mix ranges from 1:4 to 1:6 green to brown matter. Compostable green matter includes grass, some animal manures, coffee grounds, kitchen scraps and cut flowers.
- Air: Provided by periodic mixing, air holes or vents on composting bins and regulating the quantity of water in the pile, air is an essential part. If there is too little, the pile becomes anaerobic, decay slows, a sour-smell appears and plant-toxic compounds may form. If your pile has been anaerobic, spread it out on the ground before use to let the undesirable compounds air out.
- Water: Like plants and animals, the microbes in your compost need water to survive. Most brown and green materials will have enough water in them and you may not need to add extra. As a rule of thumb, if you can squeeze out a few drops from a handful of compost, the water content is fine. If your pile is too dry, it may not rot fast enough. If it is too wet, it may become anaerobic.
It is a good idea to periodically check the moisture content of your compost as it rots. The water content can change over time, usually due to weather. Uncovered open piles may dry out a little in the summer. Add water until the desired level is reached. During the rainy season, covering the pile will prevent excess water and nutrient loss.
Unwanted Ingredients
Some things do not belong in compost piles. The one that all gardeners should recognize is pet waste. There is significant risk of transmitting parasites and diseases if this ends up in compost.
For similar reasons, do not add meats and other animal products. In addition to potentially harboring human and animal diseases, they also attract rats and other unwelcome animal visitors.
Large, woody debris is also problematic. There is nothing wrong with wood in compost but large pieces will not rot quickly. If you must compost your tree prunings, run them through a chipper first.
Think twice before adding weeds. Seeds and weeds with large roots or underground stems may survive the composting process and return next year in your garden beds. Hot composting can greatly reduce weed survival in compost but it may not be completely effective.
Noxious weeds are those that are harmful to people, animals or the environment and should be left out of compost.

Dana Coggon of the Kitsap County Noxious Weed Program has this to say: “I try to tell people to not compost the noxious weeds because the chance that even just one seed can make it through the process means that then thousands of new plants could propagate from that one seed. The other interesting thing is that many of our weed seeds like the higher heat and actually do better with the heat and have better viability.”
The Washington State Noxious Weed Control Board maintains a list of weeds considered noxious in the state.
Plants exhibiting significant signs of disease should be kept out of compost as well in order to avoid the risk of passing the diseases to healthy plants.
Hot vs. Cold Composting
As microbes do their job, they give off heat. Sticking your hand in a large compost pile a few days after mixing will reveal noticeably warm temperatures. On cool, humid mornings, steam may even be observed rising out of the top of the pile. This heat can be used to advantage by the savvy composter.
Hot composting employs biologically derived heat to speed rotting, suppress plant diseases and destroy weeds and weed seeds. The core of a hot compost pile will ideally reach 130-140 degrees to qualify as “hot” composting. Lower temperatures are “cold” composting. To reach these temperatures, however, at least 1 cubic yard or more of organic matter is required.
To get the full benefits of hot composting, the pile should be turned several times. Each time the pile is turned, the outer material should be placed into the interior of the new pile. This will expose all parts of the compost to the high temperatures. Mixings should be one to two weeks apart since it will take a few days to reach the target temperatures and the pile needs to be held at those temperatures for a few more days.

Gardeners serious about hot composting should consider purchasing a compost thermometer, which resembles an oversized meat thermometer. With daily measurements, the core temperature can be tracked. Once the core starts to cool off, it is time to mix the pile again.
Cold composting is still a perfectly acceptable method. While it lacks the advantages of hot composting, it does not need as much material and optionally requires less mixing. You can always turn it more if desired.
Finished Compost
Unlike your home-cooked meal, you cannot really “burn” your compost dinner for your plants. When finished, it can sit around until needed. Covering the finished compost pile with a tarp will prevent weed seeds from landing and taking root.
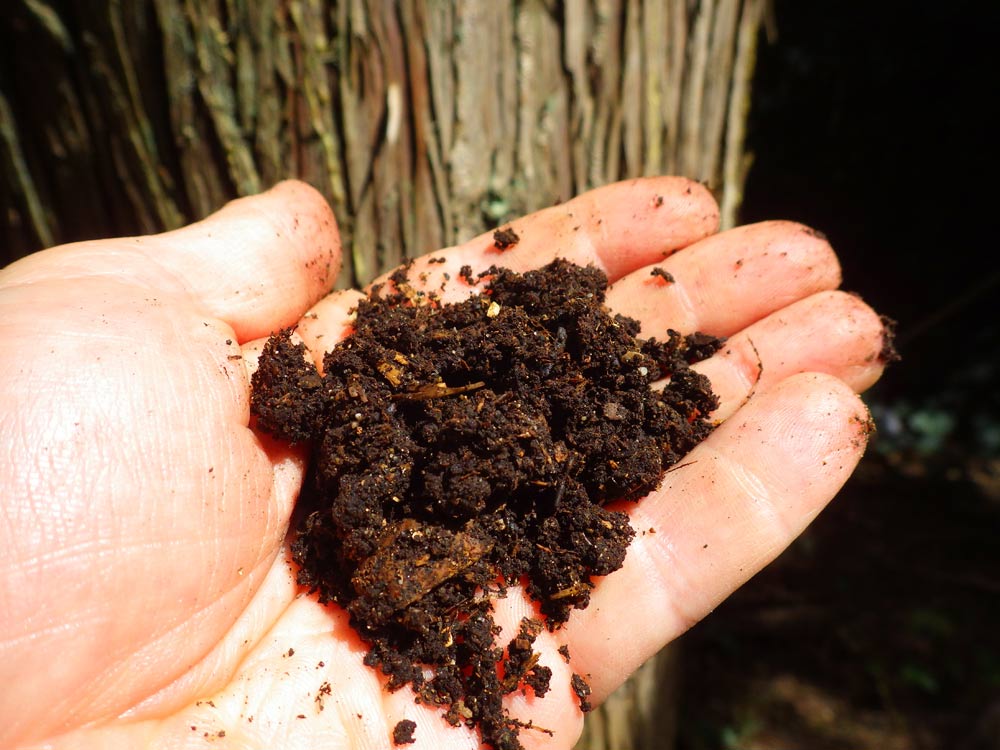
Ideally, compost is finished when most individual fragments are no longer identifiable. This is the feast your plant craves. Serve it up by mixing into the soil prior to planting or merely topdressing around existing plants. A 1- to 2-inch-deep layer is generally adequate and rain, worms and other garden creepy-crawlies will bring all the good stuff down into your garden soil.
The Beginning
There is much more composting information out there in the world. Investigate the resources included with this article and plan out a compost program to fit your needs. Your happy, well-fed plants will reward you with flowers, fruit and vegetables — and their composted remains will feed next year’s crop.


 Litter Free")


Comments