


There are many reasons why gardeners decide to start plants from seed. It can be vegetable seeds for growing, harvesting and eating produce, or non-edible annuals to merely decorate containers and other areas of the garden or to attract pollinators.
The main reason to start seeds is the wider variety of plants not always found locally.
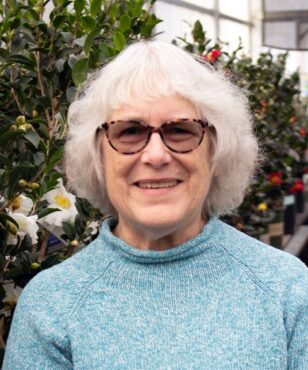
The accompanying video features Gayle Larson demonstrating how to start and grow vegetable seeds, but her methods also apply to growing annuals and perennials from seed. Ultimately though, the seed-started plants have to go outdoors into our West Sound climates, so plan accordingly.
March, April and May are a great time to start seeds indoors. And, remember, many of these same seeds chosen to start indoors will do just as well started outside sewn directly into garden soil.
 Materials Needed
Here’s what you’ll need: seeds, potting soil, liquid fertilizer, small pots or seed flats, containers (ideally with lids), thermometer, adjustable height light source and water source.
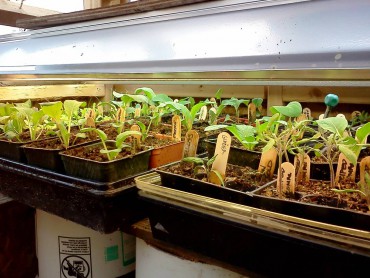
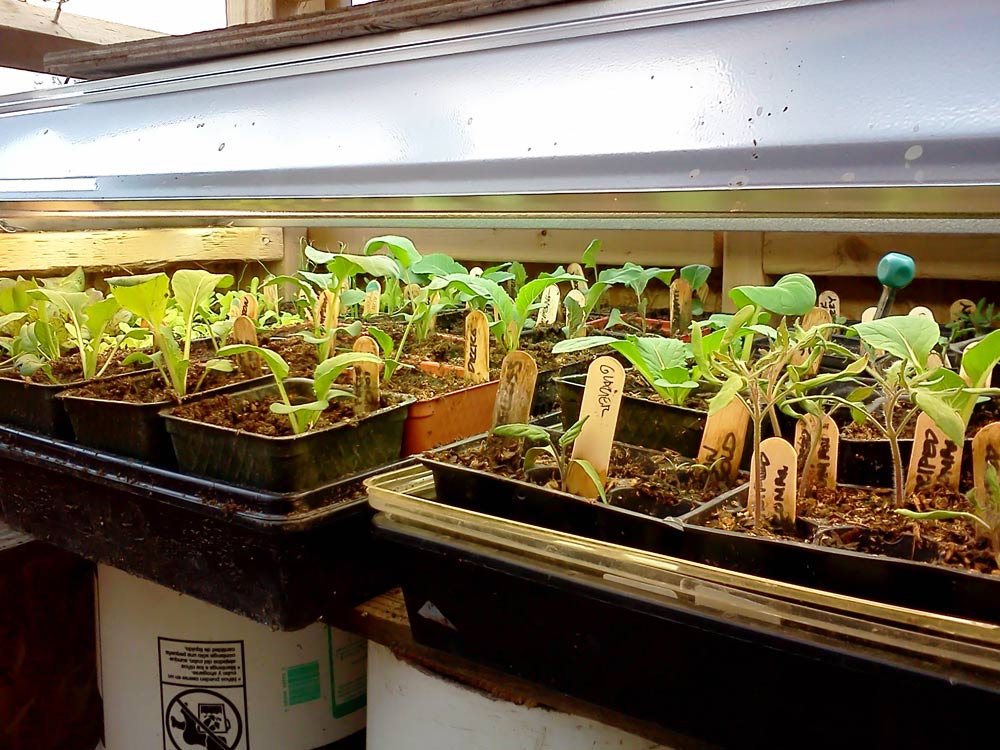
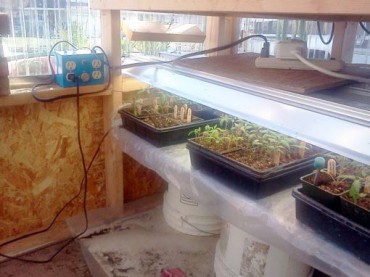
Some gardeners who really get into seed starting purchase heat mats to put underneath the containers, providing extra heat to the plants to be. You’ll also want a workspace and somewhere to store the potted up seeds (first in the dark and then in the light), plus a way to control the light source as the seedlings grow. A shop light hung from a frame works well.
Some gardeners use egg cartons filled with soil to start seeds. Others make their own pots out of rolled-up newspaper strips.
Save salad containers and other food and baked-goods plastic containers from the grocery store — ideally with solid or clear bottoms and clear tops. These work beautifully for seed starting, just like a mini greenhouse. You’ll also want some kind of waterproof container to place all the potted up seed containers in.
 Choosing Seeds
First step is to choose seeds that will grow vegetables you and your family will enjoy eating. Plan out when the starts need to go outside. Also plan whether you’ll be able to harvest them on time or if someone you know can harvest them at the right time if you’re away for several days.
Always read the seed packet to see where the seeds originated, how many days to germination, how many days to maturity/harvest and often what temperatures they’ll need to germinate. All the pertinent information needed should be on the packet.
Some packets don’t list the temperatures for germination, but most plants need a soil temperature of 60 to 70 degrees to germinate as a good rule of thumb.
Getting Started
Ideally rinse the small pots or seed starting flats in a mild bleach solution and dry them thoroughly. Also assemble all the materials needed in one place to begin working. Remember to premoisten the potting mixture.
It’s much easier to start seeds with moist soil. It’s also easier to fill the pots completely with moistened soil. Save some of the soil mixture dry to sprinkle over the top of the soil once the seeds are in place.
 Plant Away

Fill each container with soil and plant a few seeds. The size of the seed will determine how deep to plant. A general rule of thumb is enough soil on top to be about three times the size of the seed.
For lettuce and carrot seeds that are quite tiny, it’s easiest to sprinkle soil lightly on top of the seeds that have been scattered onto the moist soil.
Remember that some plants started from seed don’t like having their roots disturbed so plan accordingly. Squash and peas usually don’t like their roots disturbed so choose a container big enough for them to grow several true leaves before being transplanted outside.
Place the heat pad (if you’ve purchased one) under the square or rectangle containers where you’ll place the planted up seed pots or six packs. Some heat pads are waterproof and can go into the square or rectangle containers right under the pots and six packs.
Sometimes gardeners purchase Rubbermaid-type shallow tubs with clear lids to hold their pots or containers of planted seeds. This makes them easier to move around and also protects tables and floors from spilled water.
Gently water in the seeds. Gayle recommends watering from the bottom rather than directly onto the soil and plants.
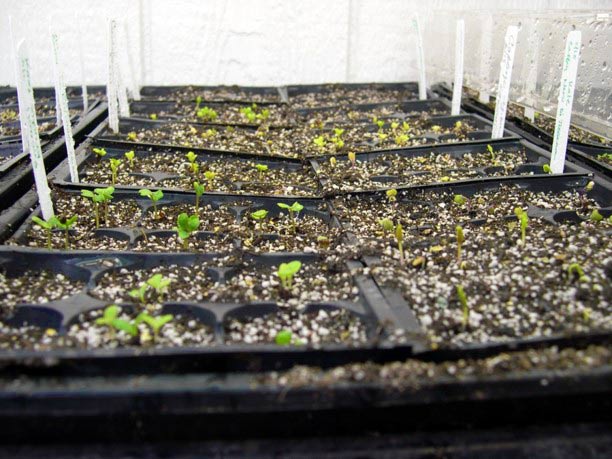
If you’ve used the egg-carton method, close the lid for a few days, and if you’ve used other methods, find a warm, dark place to place the containers for a few days. Sometimes it takes at least a week for seeds to germinate. Check each day for progress.
Keep soil moist during this time. But not too wet or the seeds will rot. Bring the containers out to the light when the plants have one set of true leaves. These will look more like the mature leaves of the plant and slightly different from the very first set of leaves.
Start fertilizing with a half strength liquid solution when this second set of leaves appears. Also watch to see how the roots fill up the original pots. If the roots fill up the pots too quickly, they’ll need to be moved into bigger pots or planted outside in the garden.
The light source is hung a few inches right above the plants. As the plants grow, the light source will need to be moved higher above the plants.
When it’s time to put the plants outside, keep them sheltered at night until they’ve adjusted to outside temperatures. Remay-type floating row cover cloth works well for this.
It takes from a few days to a week or so for the new plants to acclimate. Then plant these new sprouts into the garden. Fertilize again with a liquid fertilizer and away they’ll grow.
In 30-60 days, you’ll be enjoying the fruits (i.e. vegetables) of your labors.


 Litter Free")


Comments