


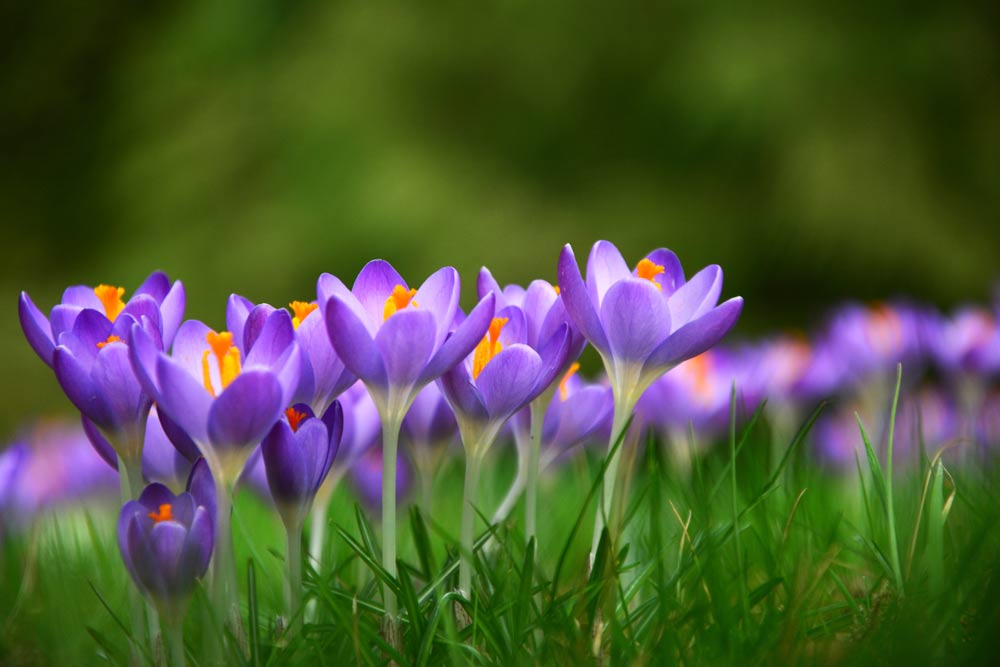
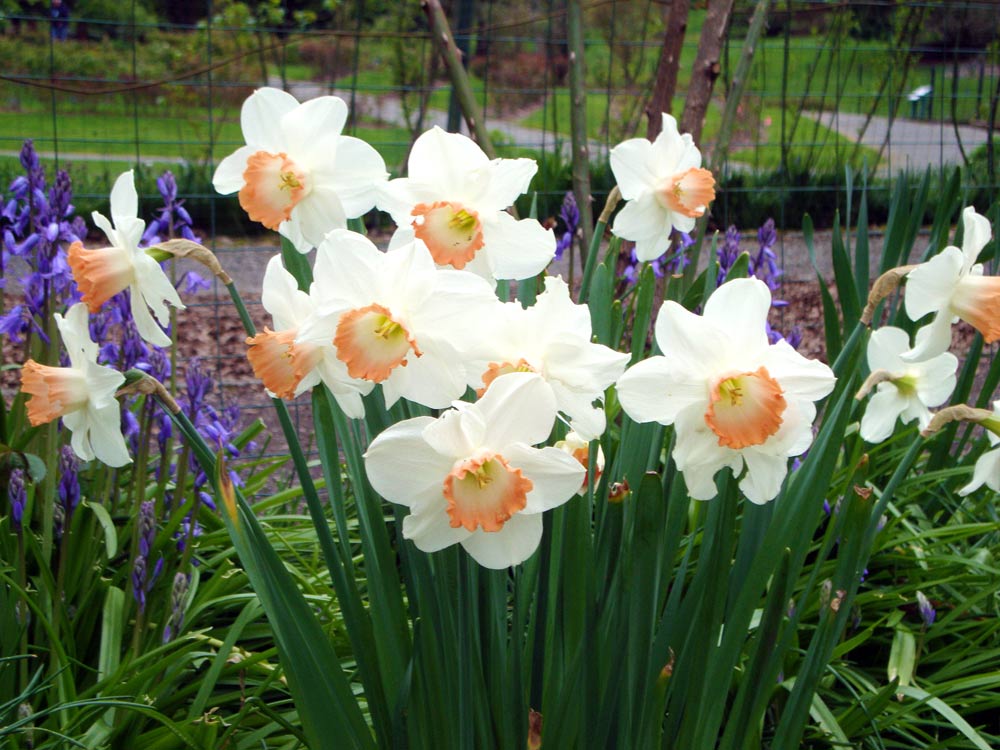
 For local gardeners, fall is the time to clean out garden beds and get bulbs in the ground. The mild climate of West Sound makes it ideal for growing a wide range of spring-blooming bulbs, with crocuses, hellebores, cyclamen, daffodils, tulips and grape hyacinth being among the most popular.
Since early-blooming bulbs need a cold period of about three months before blooming, planting them in October or November gives them plenty of time to store up the energy they need for spring. Bulb planting is fairly easy, but following a few general rules will help ensure you get the healthiest blooms from your bulbs come spring.
 When deciding where to plant your bulbs, choose a spot that will get several hours of sunlight when spring arrives. Plant them in clusters, rows, drifts or containers for the strongest visual interest. For more interest, consider mixing colors or intermixing different types of bulbs in the same part of the garden.
To prevent rot, bulbs need rich, loose soil that drains well. If your soil tends to stay soggy, amend it with compost or peat moss to help improve its drainage, or plant your bulbs in containers with drainage holes to keep them from sitting in wet soil.

Planting Your Bulbs
After selecting your planting site, remove weeds, rocks and other debris from the spot, and loosen the soil with a trowel or hand rake. Lay the bulbs on top of the soil in the pattern you want them to grow in, and use a trowel or bulb planter to dig a hole for each bulb.
The recommended planting depth is usually 6 to 8 inches below the soil surface, but be sure to follow the planting guide that came with your particular bulbs. Bulbs planted too shallow tend to not have strong enough stems to keep them upright, and they just fall over when they bloom.
Set one bulb in each hole with the roots facing down. If you come across a bulb that doesn’t have clearly defined roots, just lay the bulb in the hole on its side and it will right itself when it starts to grow.
When you have all your bulbs in the ground, cover them with soil and water the spot well to help set the soil around them. For container planting, choose containers that will allow the bulbs to sit about 6 inches below the soil’s surface and still have some space below the bulbs to help the roots get nutrients from the soil.
If the container didn’t come with drainage holes, you can drill some or punch out holes in the bottom of the container with a hammer and nail.
Once your bulbs are planted, cover the soil with a layer of mulch and let nature take care of them until spring. If you think you’ll forget where you planted them, use something like rocks, bamboo poles or a flower pot to mark the spot.
Once your bulbs bloom, feed them with plant food and keep them well watered. After they get established, divide them every few years and they will continue to fill your garden beds with color for years to come.


 Litter Free")

Comments