


The first time we saw our property, we were not smitten. Most of the land sloped significantly and faced north. The house did not make us jump with excitement either, at first.
As our choices were pretty limited, we took a second look, and the magic started to reveal itself. The sloping property afforded a peekaboo view of the headwaters of Eagle Harbor. About a third of the yard was undisturbed forest with amazing, old-growth cedars and big leaf maples, which abutted a ravine with a year-round stream. The rest was sunny and peaceful.
The first act of this gardener was to plant fruit trees and berries. Trees take a while to establish, so there was no time to waste.
Next was a pile of cardboard and horse manure to create some mixed planting beds with minimal labor. The cardboard is not necessary; some say even detrimental to the exchange of gasses and water, as long as enough mulching material is laid down to smother the existing grass.
Living in an area with many horse farms and trees, we find that raw materials like horse manure and arborist chips are often easy to come by. The resulting beds were later planted with shrubs and perennials to offer privacy and create some magic.
A garage-sale hunt resulted in a golden find: rough-split cedar logs, about 12 feet long. I dragged them home, much to my husband’s dismay and a slight panic.
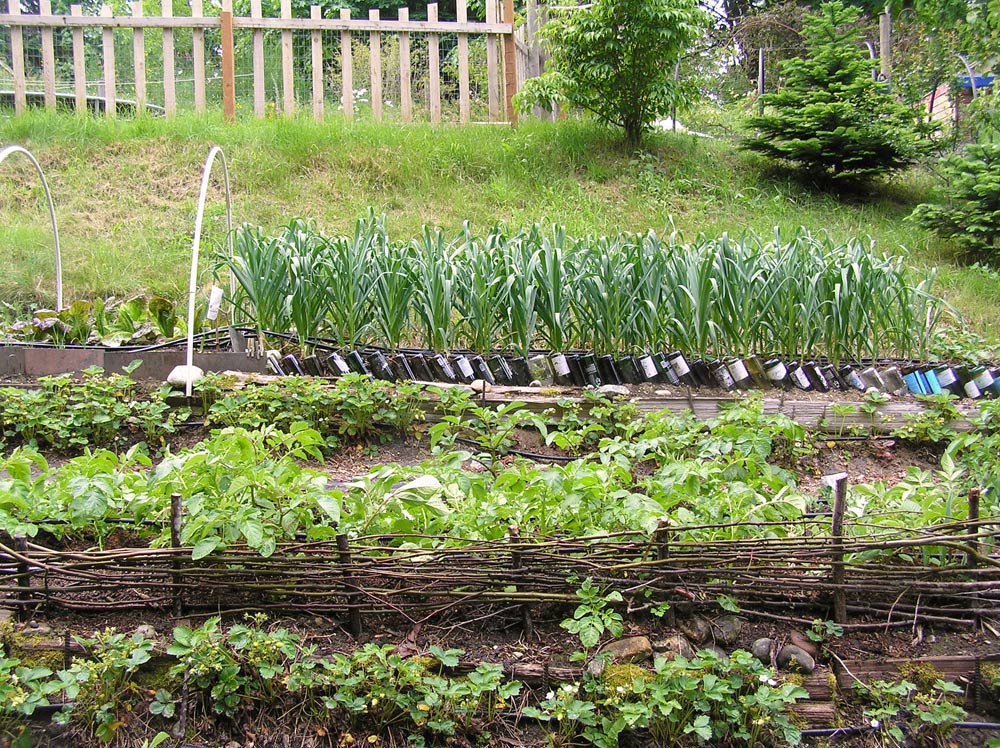
He calmed down once he learned the logs would be used to help create a terraced vegetable garden on the steep slope. Using 4-foot-long long rebar pieces as anchors for the cedar, I was able to use the wood to level out several 35-by-4-foot planting beds. The result was rustic and functional, and worked well for 15 years.
A few downsides to this method: The cedar did not prevent the slow movement of soil from the beds onto the pathways as the soil was worked and watered. Slugs had many hiding places along the wood and were difficult to control.
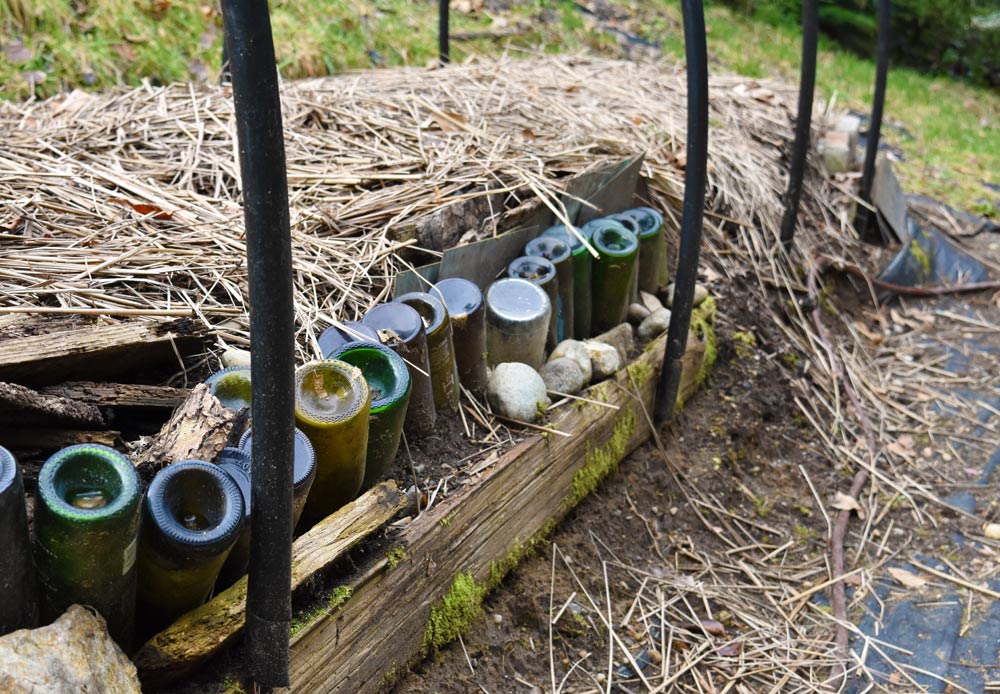
As the wood rotted, it became necessary to get more creative with keeping the soil where it belonged. Bottles, pruned branches turned into waffle edging, as well as some old bricks all did the job for a while, but eventually even those stop-gap measures were not enough.
I was ready for a change. I wanted to regain the level paths I once used to have, as well as use a retaining material that would last for a while and would hold the soil without allowing any to escape. Finally, something that would not be quite so hospitable to slugs.
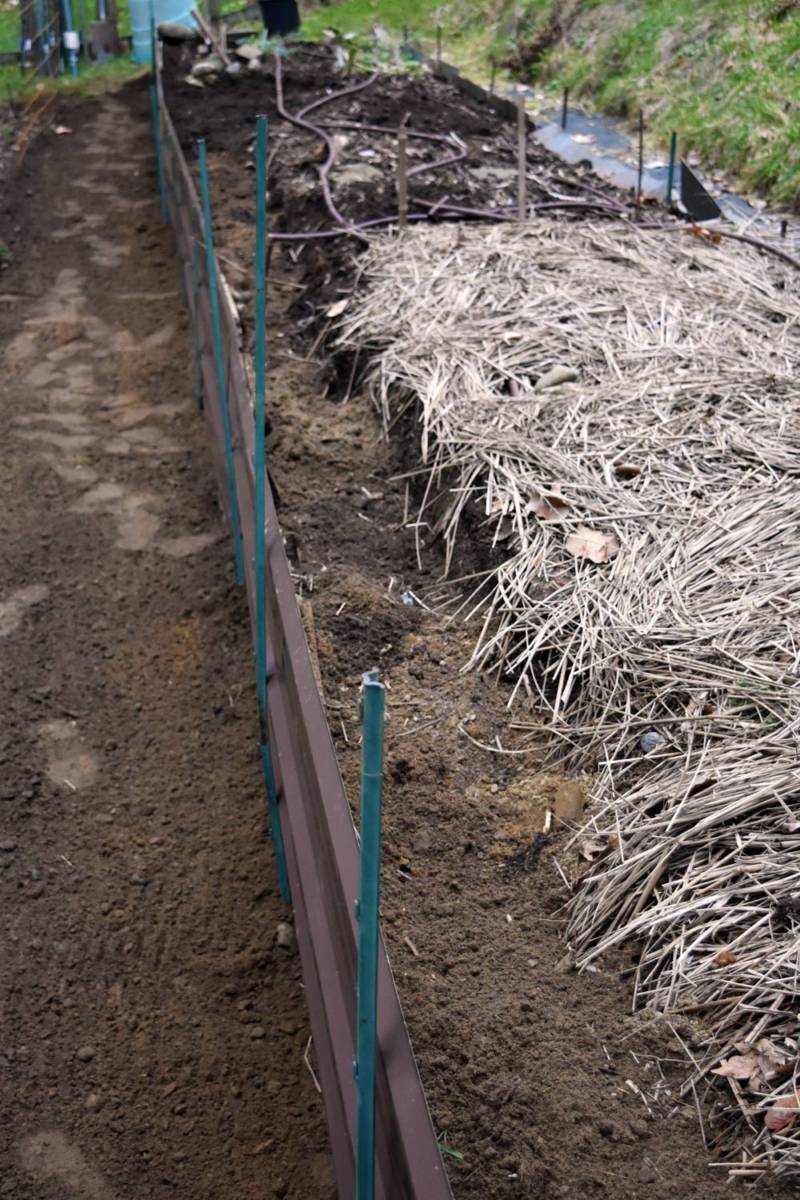
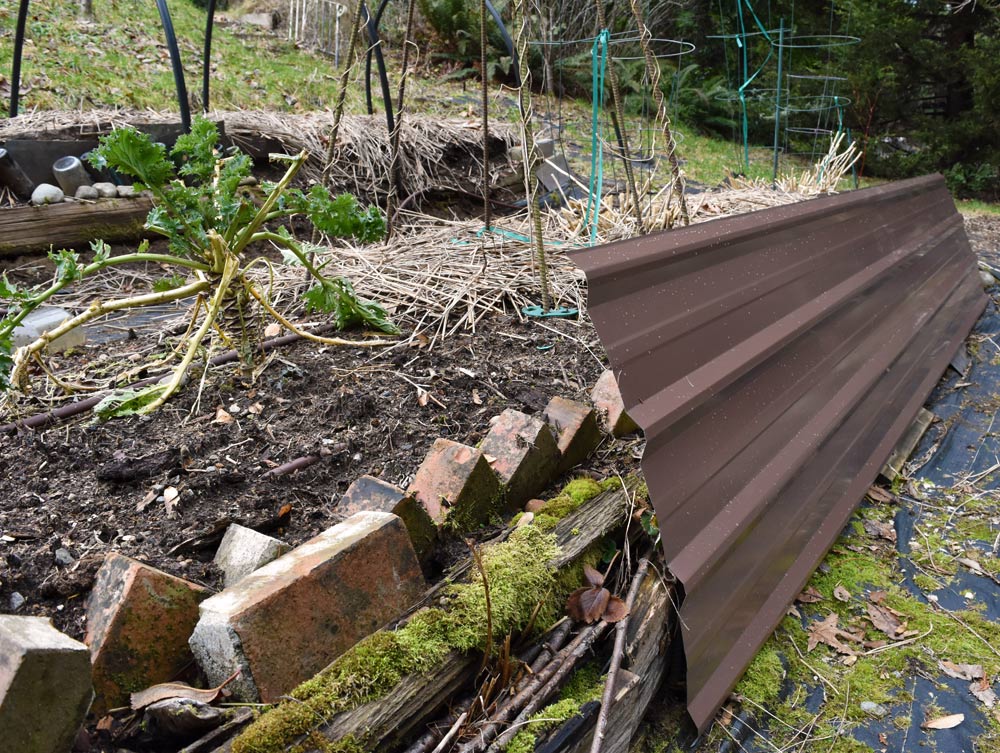
The cost needed to be reasonable. I chose a metal roofing material with a dark-brown finish and simple 4-foot fencing t-stakes to hold the sheets in place. The panels are 36 inches wide and 12 feet long (they are available in several sizes) and the bottom 8 inches were buried to stiffen them and help hold them in place.
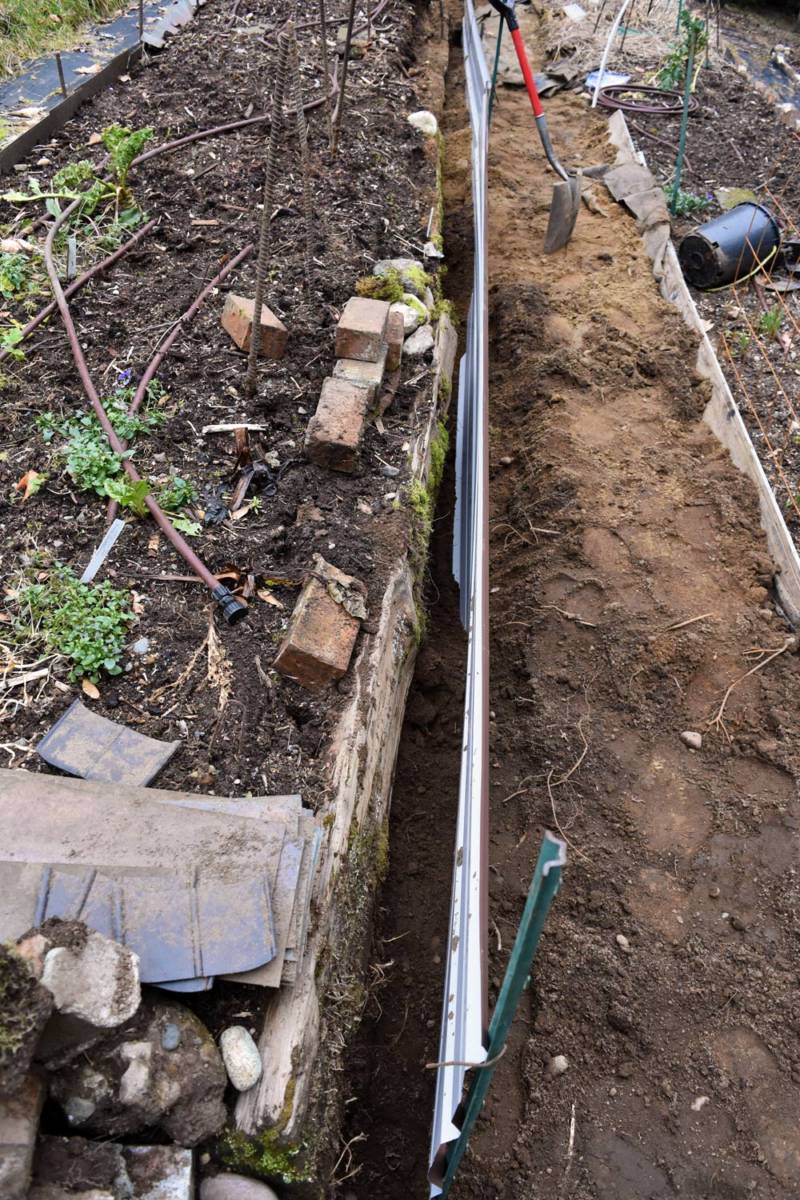
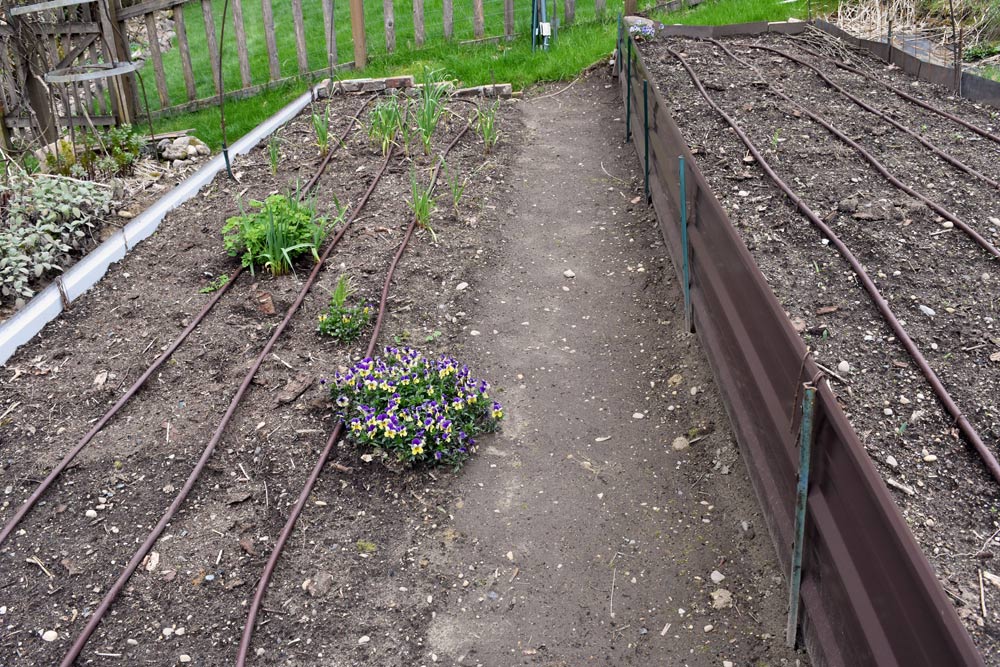
The t-posts were sunk close to 2 feet deep, leaving about 27 inches above ground to be flush with the edge of the metal. The final look is more contemporary than the split cedar, but the dark-brown finish helps the panels blend into the garden.
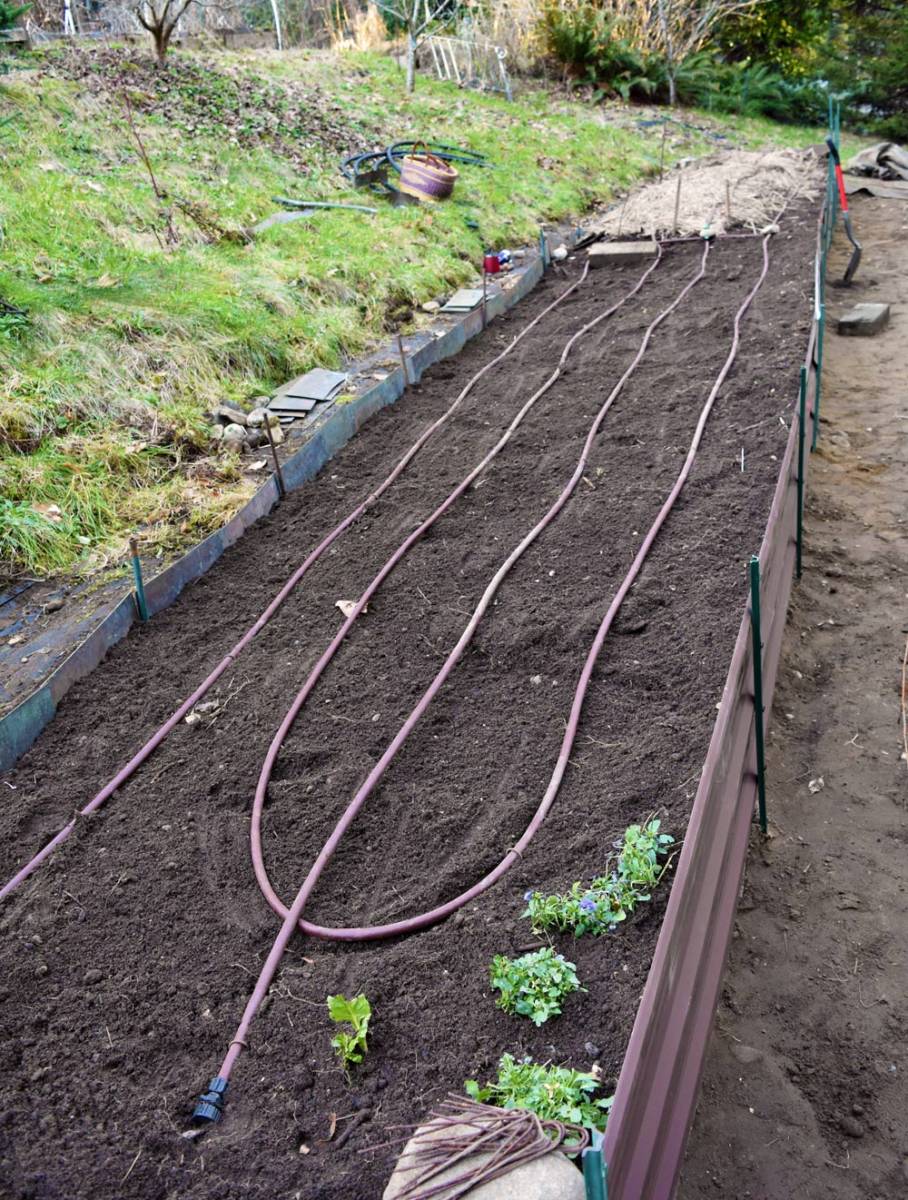
The finished beds gained about a foot in width once the cedar logs were removed (some were left buried in the soil to keep rotting and slowly enrich the soil), so I had to add more drip irrigation to the beds. The short ends of the beds are finished with the recycled bricks, but some of the metal sheeting could also be cut to form the ends.
The slope of our garden resulted in pretty tall beds on the low side, so the metal walls are retaining quite a bit of weight. We will need to be mindful of working along the edges to keep them from bending outward, but using stepping stones or boards will spread the load of the gardener and protect the sides. This may not be an issue in a lower terraced bed.
I believe that corrugated metal sheeting would be stiffer than the metal roofing I used in this project, and using 4-by-4 posts to screw the metal into would also result in a sturdier planter.
I liked the simplicity of this project, even though the snow, rain and frozen ground stretched it out longer than planned. We are now looking forward to all the extra space in our veggie beds, as well as a well-organized garden!


 Litter Free")


Comments