


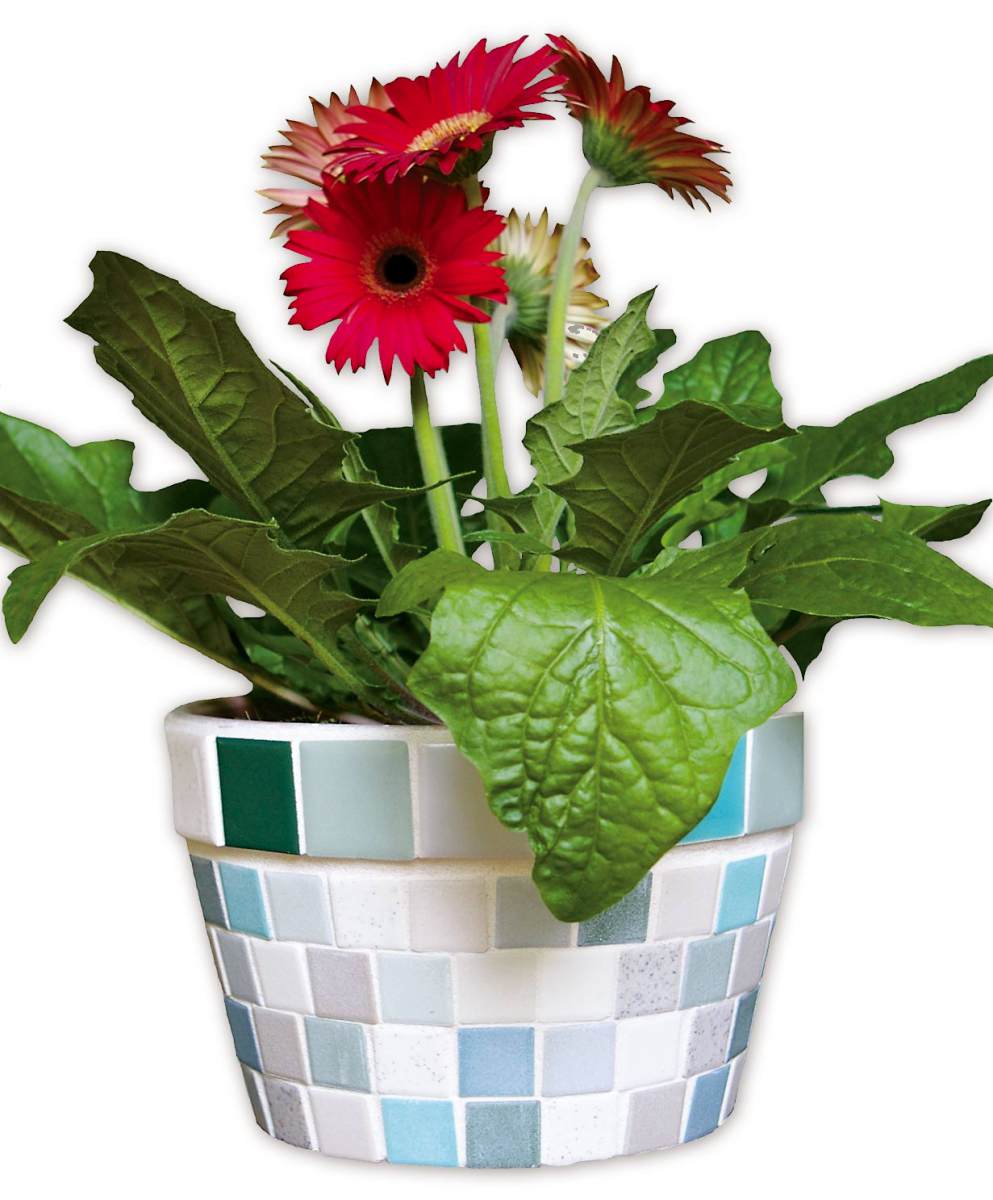
This project is the ideal introduction to the craft of mosaics. Making a mosaic flowerpot utilizes the skills required for a larger composition, without the risk of spending much on tools that might not be used again. And a mosaic planter doesn’t need to be perfect to be useful. Since the supplies are inexpensive and widely available, it’s a swell first creation — once you do it, you’ll feel confident enough to move onto more complicated projects that require a greater investment in materials and tools.
 Selecting Materials
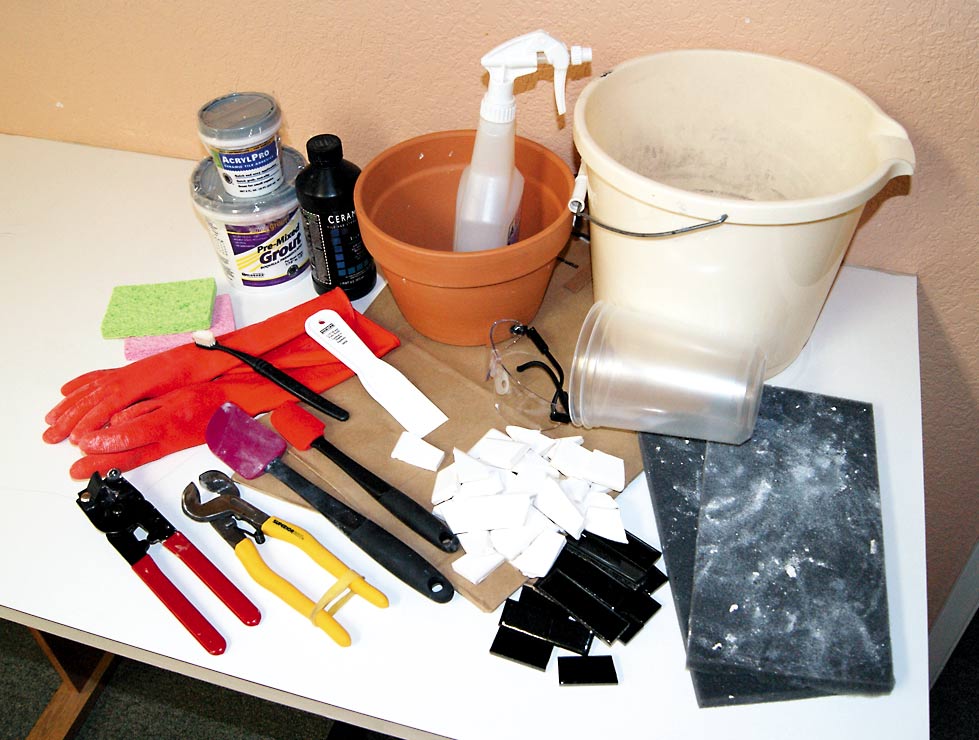
Mosaics supplies can be obtained at your local retailer, thrift store or garage sale. When it comes to mosaics, “found objects” are an endless source of creativity. You’ll need about one and a half square feet of 4- or 6-inch tile to use for the surface of the pot. Glazed ceramic tile is best; avoid thicker floor tile and porcelain tile — both are more difficult to break.
Use an 8-inch squat clay pot, called an azalea pot. The wider base of an azalea pot allows tile pieces to adhere to curves. If the pot is not new, wash well to remove dirt and let dry for a week. Glazed containers should be avoided as adhesive will not stick to them as well.
 Step 1: Breaking the tile
Economy method: Stack tile about four high in an old pillowcase on your driveway, and while wearing safety goggles, smack the stacks with a hammer. Open the pillow case to see what sizes the tile pieces are and re-stack those that are too large. Pieces should be in the 1- to 1/2-inch range to work with the curves of the pot. The hammer method pulverizes some of the tile, creating a lot of waste.
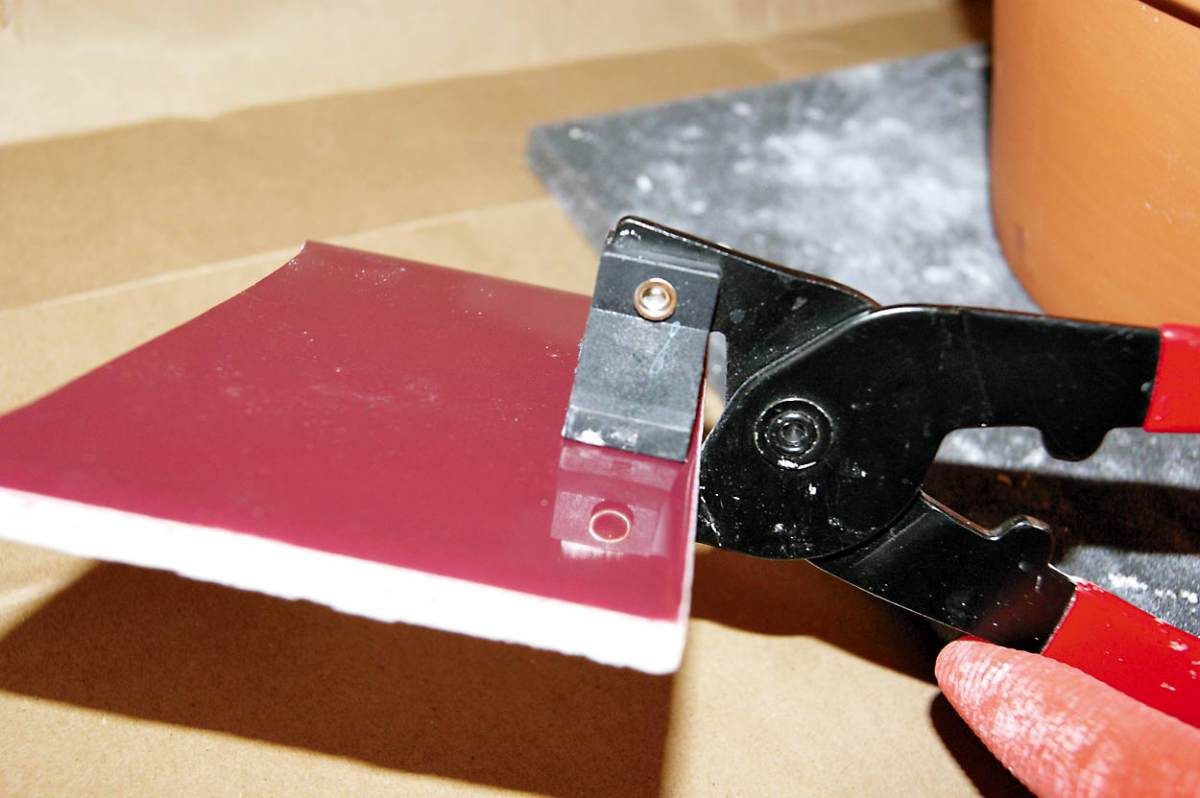
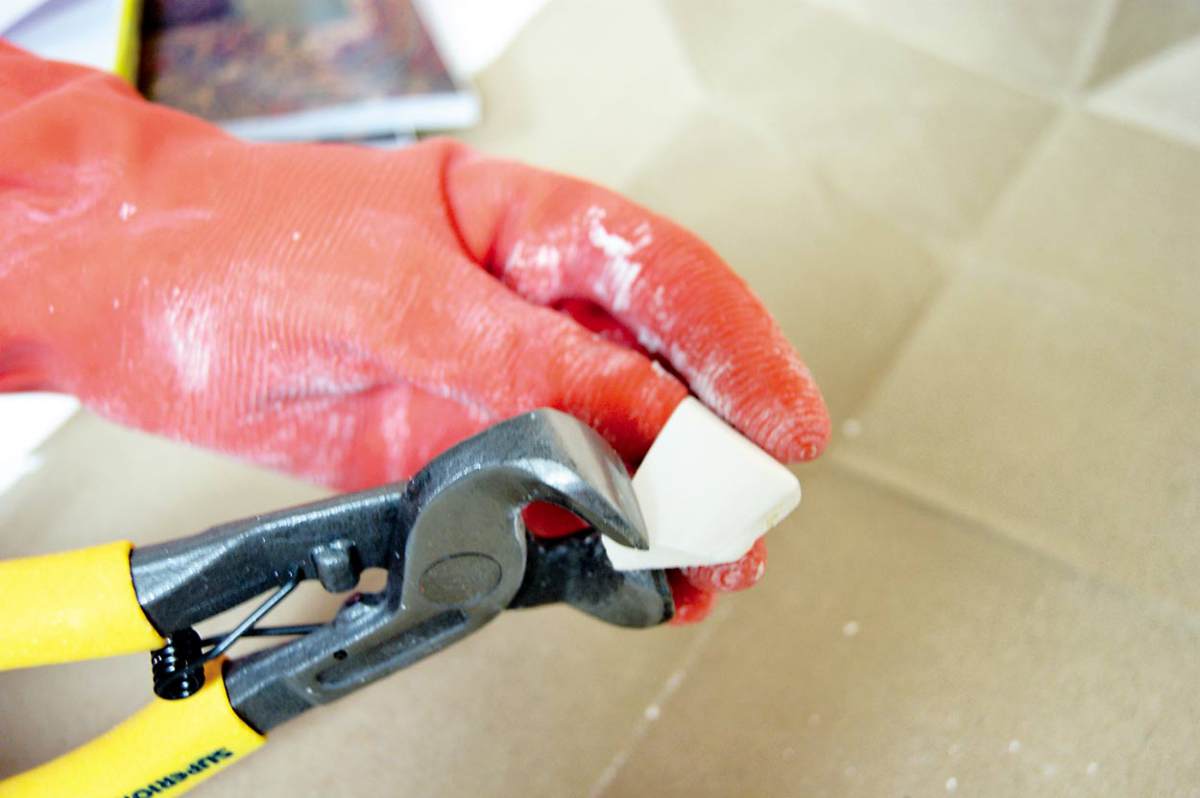
Quick and easy: Utilizing a tile breaker wastes less and allows more control over the size and shape of pieces. Wearing eye protection, break all the tile at once, leaving pieces on the bigger side so you can make them smaller to fit where needed.
 Step 2: Gluing tile
Lay out pieces around your work area so that as you are gluing pieces you can scan for the right shapes and sizes, much like you would when putting together a puzzle. Place the pot upside down on a padded surface. Using the plastic putty knife, smear a thin, almost transparent layer of adhesive on the pot, covering enough space for just two to three pieces. Don’t apply the adhesive until it’s needed or it will dry out before you’re ready.
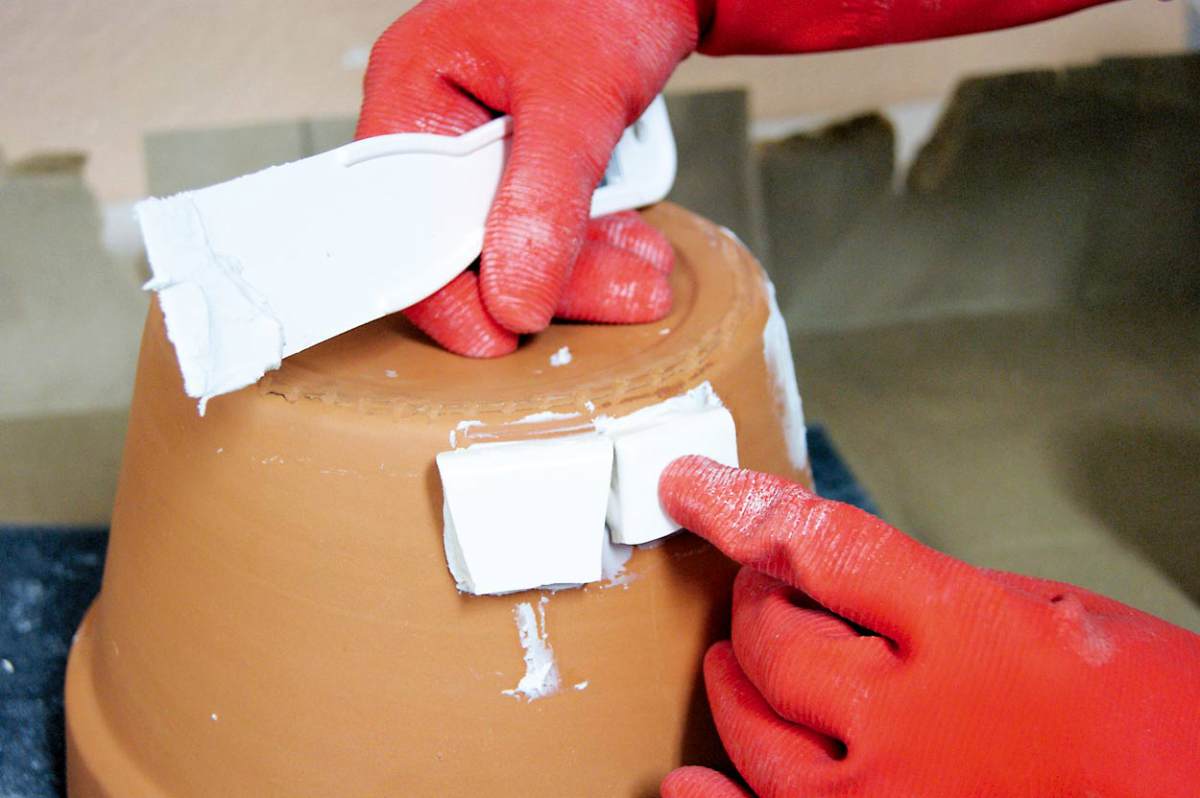
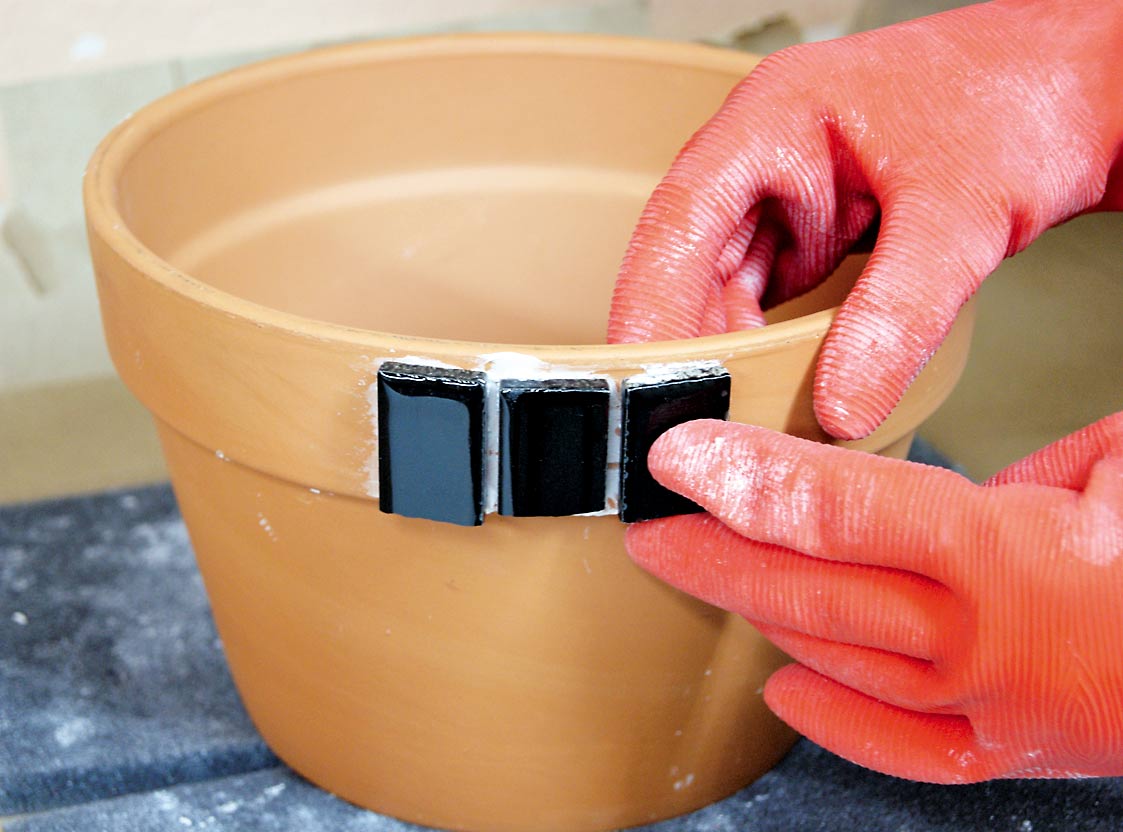
Apply adhesive evenly to the back of each piece (like you’re buttering bread) before placing on the pot and applying pressure. Pressing on the tile will cause adhesive to ooze out. A lot of ooze means too much adhesive is applied to the pot or the tile, or both. Remove the excess with the putty knife before placing the next piece and don’t let adhesive fill the joints between pieces or dry on the tile faces.
 Choose tiles with a factory cut or straight side for the very bottom edge of the pot. This creates a finished look, leaving no sharp or pointy pieces. Affix pieces one row at a time. Leave a 1/8-inch gap between the bottom edge of the pot and the edge of the first row of tile to later be filled with grout. When the first row is done, pieces may need to be gently slid closer together or father apart in order to accommodate the last piece in a row. For this reason, it is always best to finish at least one row before taking a break, as a tile cannot be shifted once the adhesive dries. When you are gluing the last row where the body of the pot meets the rim, leave a 1/16-inch gap between the edge of the last row and the rim for grout.
Tip: Longer pieces should be used vertically. When horizontal, less of the tile will be bonded to the curved surface of the pot, making tile more likely to pop off when bumped and the mosaic surface rougher.
 Step 3: Gluing the rim
Since the rim is narrow and requires a 1/16-inch gap on the bottom and 1/8 inches on the top for grout, the pieces need to be more uniform. A straight edge is preferred for the top of the pot. With pot tilted, spread adhesive on the center of the rim then “butter” each piece before pressing it into place. Clean out adhesive from grout joints and on the face of the tile after each piece is set and space accordingly to accommodate the last tile. Once the entire pot is cemented, allow one week for the adhesive to dry before grouting.
Tip: A tile nipper is useful to make precise adjustments to the shape and size of the pieces so they fit together tighter.
 Step 4: Grouting tile
Allow enough time to grout and clean up the pot and tools. It’s a messy process that must be finished before the grout dries, so have sponges, bucket of clean water and other tools nearby. Approximately one hour is needed for steps four through six.
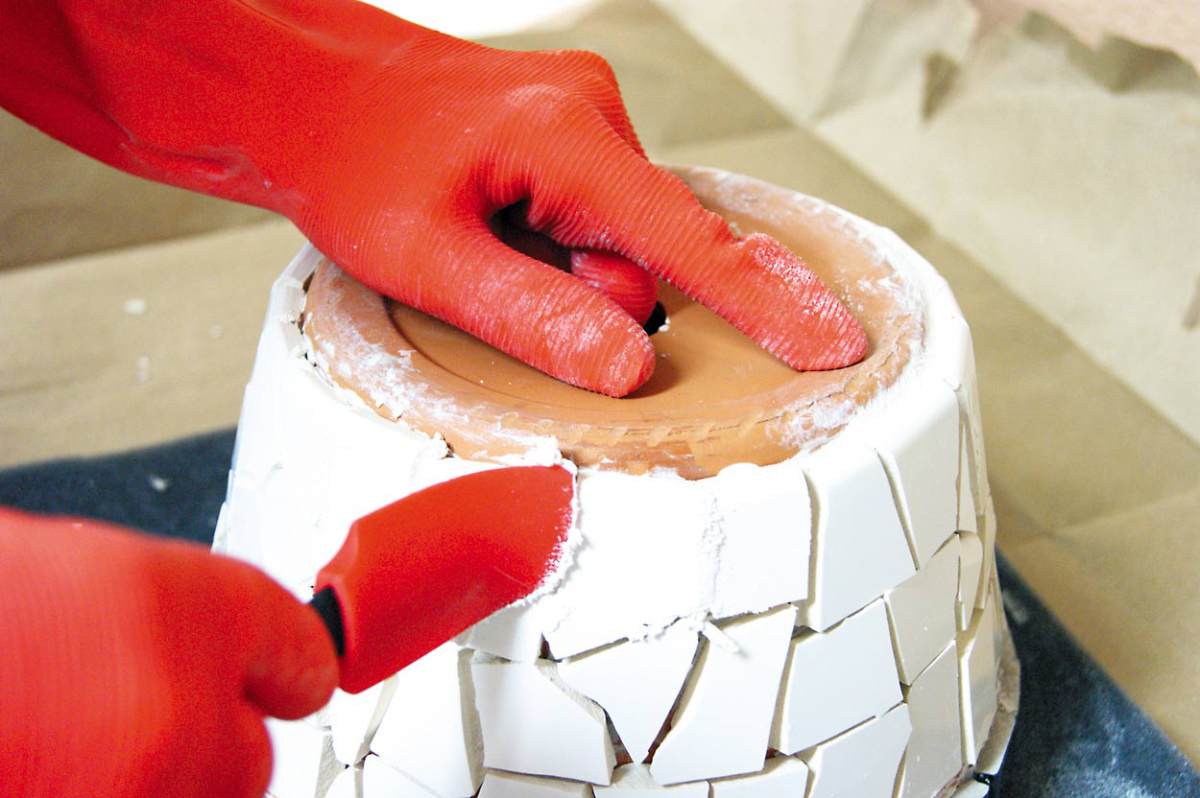
Start applying grout to the bottom of upside-down pot using a rubber spatula or putty knife. Spread grout over the tile surfaces, going around the first row, working grout into joints but knowing you’ll come back around to work the grout in more carefully. With the spatula, you just want to apply enough grout to that first row, and then go back around that row using your gloved fingers to move the grout off the face of the tile and into the grout joints. You’ll be both cleaning excess off the tile faces and revealing where you need to add a bit more grout where pockets turn up.

After each row, wring out sponge and use it to wipe excess grout off the tile carefully so as not to remove grout from joints. You want the surface of the grout joints to be even with the surface of the tile. Repeat the process row by row, first using the spatula to apply grout, then using fingers to work it into the joints, then sponging the tile until you reach the lip of the pot. Sponging the grout prevents it from drying on the tile while keeping it moist as it cures — the slower it cures, the stronger it will be. Less and less residue will remain after each sponging. Remember to wipe down the base and inside of the pot.
Tip: Sanded grout is best for wider spaced pieces. It is easier to clean up than non sanded grout but can scratch tile. Non-sanded grout is for tightly spaced tile and won’t scratch but is stickier and thus a bit harder to sponge off.
 Step 5: Grouting the rims
When grouting the gap between the body and the rim, as well as the top and bottom edges of the pot, use gloved fingers. Sweep a dollop of grout into the gap with forefinger and smooth it even with the edge of the tile and the edge of the pot, continuing in one direction all the way around. Once the gap is filled, go back around, softly tamping the grout down into the gap with the surface of a clean, moist sponge. This action compacts the joint solidly and smoothes the grout surface.
Because of the angle of the edge of the pot and the face of the tile, you’ll want to be more careful with the sponge than you were on the body of the pot. It’s easy to sponge away too much grout and a thicker layer of grout is needed so the finished edge of the pot isn’t sharp. Add more grout with fingers where needed.
Tip: After the bottom edge is grouted, be delicate when turning the pot over to work on the top lip — it’s easy to accidentally dislodge moist grout on the rims.
Step 6: Cleaning up
After the rims are grouted, go over the whole pot as much as necessary with the clean, barely moist sponge until residue becomes thinner and thinner and all grit is removed. When just a film is left and there are no obvious blobs of grout on the tile, switch to a soft, dry rag and buff each tile face to remove residue. A spray bottle is handy at this stage for applying a fine mist of water and wiping down with a cloth; repeat every few minutes while you clean up tools. A toothbrush or cotton swab is helpful to remove stubborn grout from tile or the bottom of the pot. Polish one last time with a clean, dry rag and let set one week before sealing.
Tip: Never wash adhesive or grout into plumbing; use a bucket of water to rinse sponges and tools and dump waste water outside.
Extra Step: Seal the pot
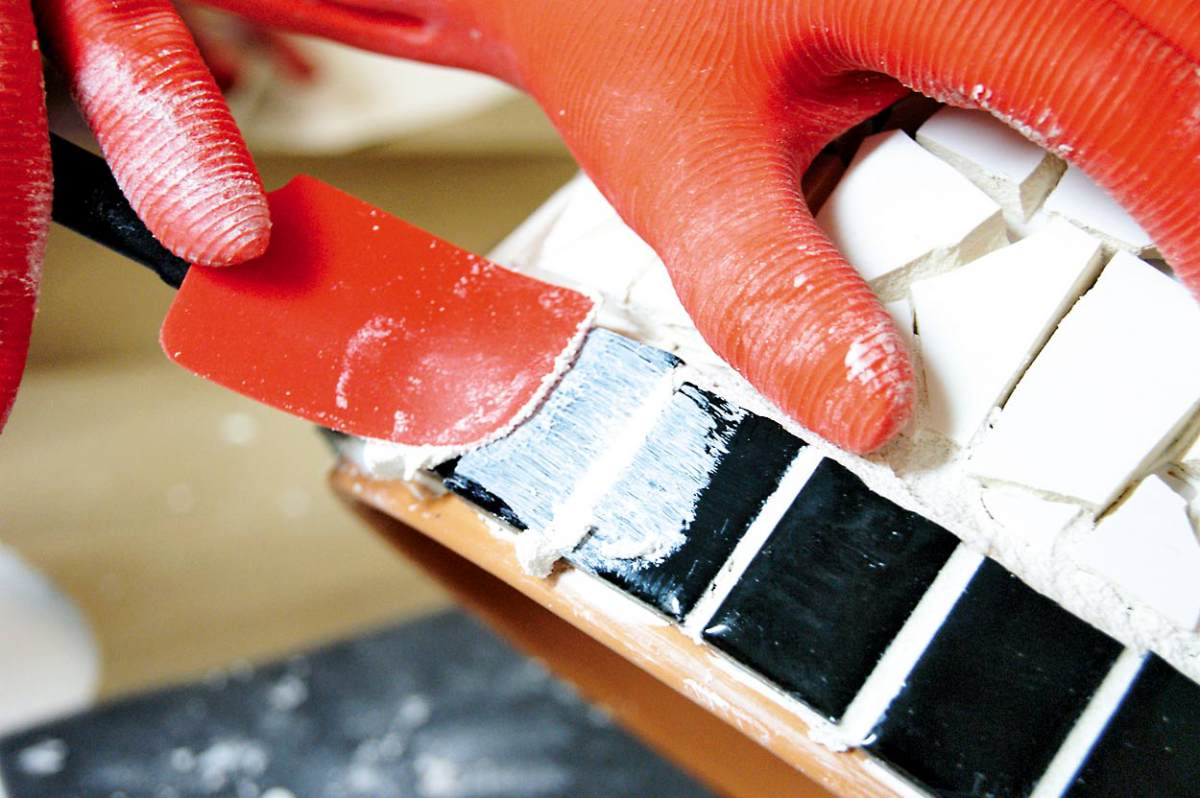
This step only takes a few minutes but keeps the mosaic looking great for years. Sealer will protect the surface from moisture and dirt. Use a brand new, well-wrung sponge to apply a coating of sealer to the tile and all grout joints; one coat is enough. Buff the sealer off the tile with a clean, dry rag to remove streaking.
If you’d like to use your mosaic as a cache pot, set a 6-inch potted plant in a plastic saucer inside the mosaic planter. If you would like to plant directly into the pot itself, apply a ceramic sealer specifically made for terra cotta to the interior to protect the mosaic from moisture damage and let dry. Once planted, place the whole mosaic pot in a waterproof saucer.


 Litter Free")


Comments